
ORC WEEK 6 & 7: The Power of Paint
WEEK 1 | WEEK 2 | WEEK 3 | WEEK 4 | WEEK 5
It’s crunch time for the One Room Challenge! I’m both looking forward to having our guest bathroom complete but also running around trying to get it photo ready before next week’s reveal!
Oh, the power of paint! Weeks 6-7 were focused on painting the walls, baseboards, molding, door and door casing. I decided to paint the trim, walls and door the same color - Benjamin Moore Hale Navy, a true navy blue. However, it definitely skews darker in our bathroom as it has no natural light. I love how it complements the wallpaper, making it pop even more while also unifying the space.


PAINT PREP & PROCESS
PREP
Before painting, I sanded the chair rail, baseboards and door as those had a coat of paint on them. I used 220 grit for the chair rail and baseboards and 150 grit for the door. I then wipe with a tack cloth before painting to ensure a smooth, clean surface.
The molding I bought primed so after filling the nail holes and caulking, I was able to paint.
WALLS
I started with 2 coats on the walls of Benjamin Moore Regal Select line in Hale Navy Eggshell. Eggshell is my go-to finish for most rooms given its ability to be cleaned while having a low sheen, similar to matte. Matte walls scuff easily and are hard to clean so I don’t recommend that finish in high traffic areas.
MOLDING, TRIM & DOOR
I then painted 2 coats of Benjamin Moore Advance paint in Satin finish on the molding, trim and door. This paint is great for trim and doors as it does not leave roller or brush marks. Note that it has a longer than average dry time between applying coats.
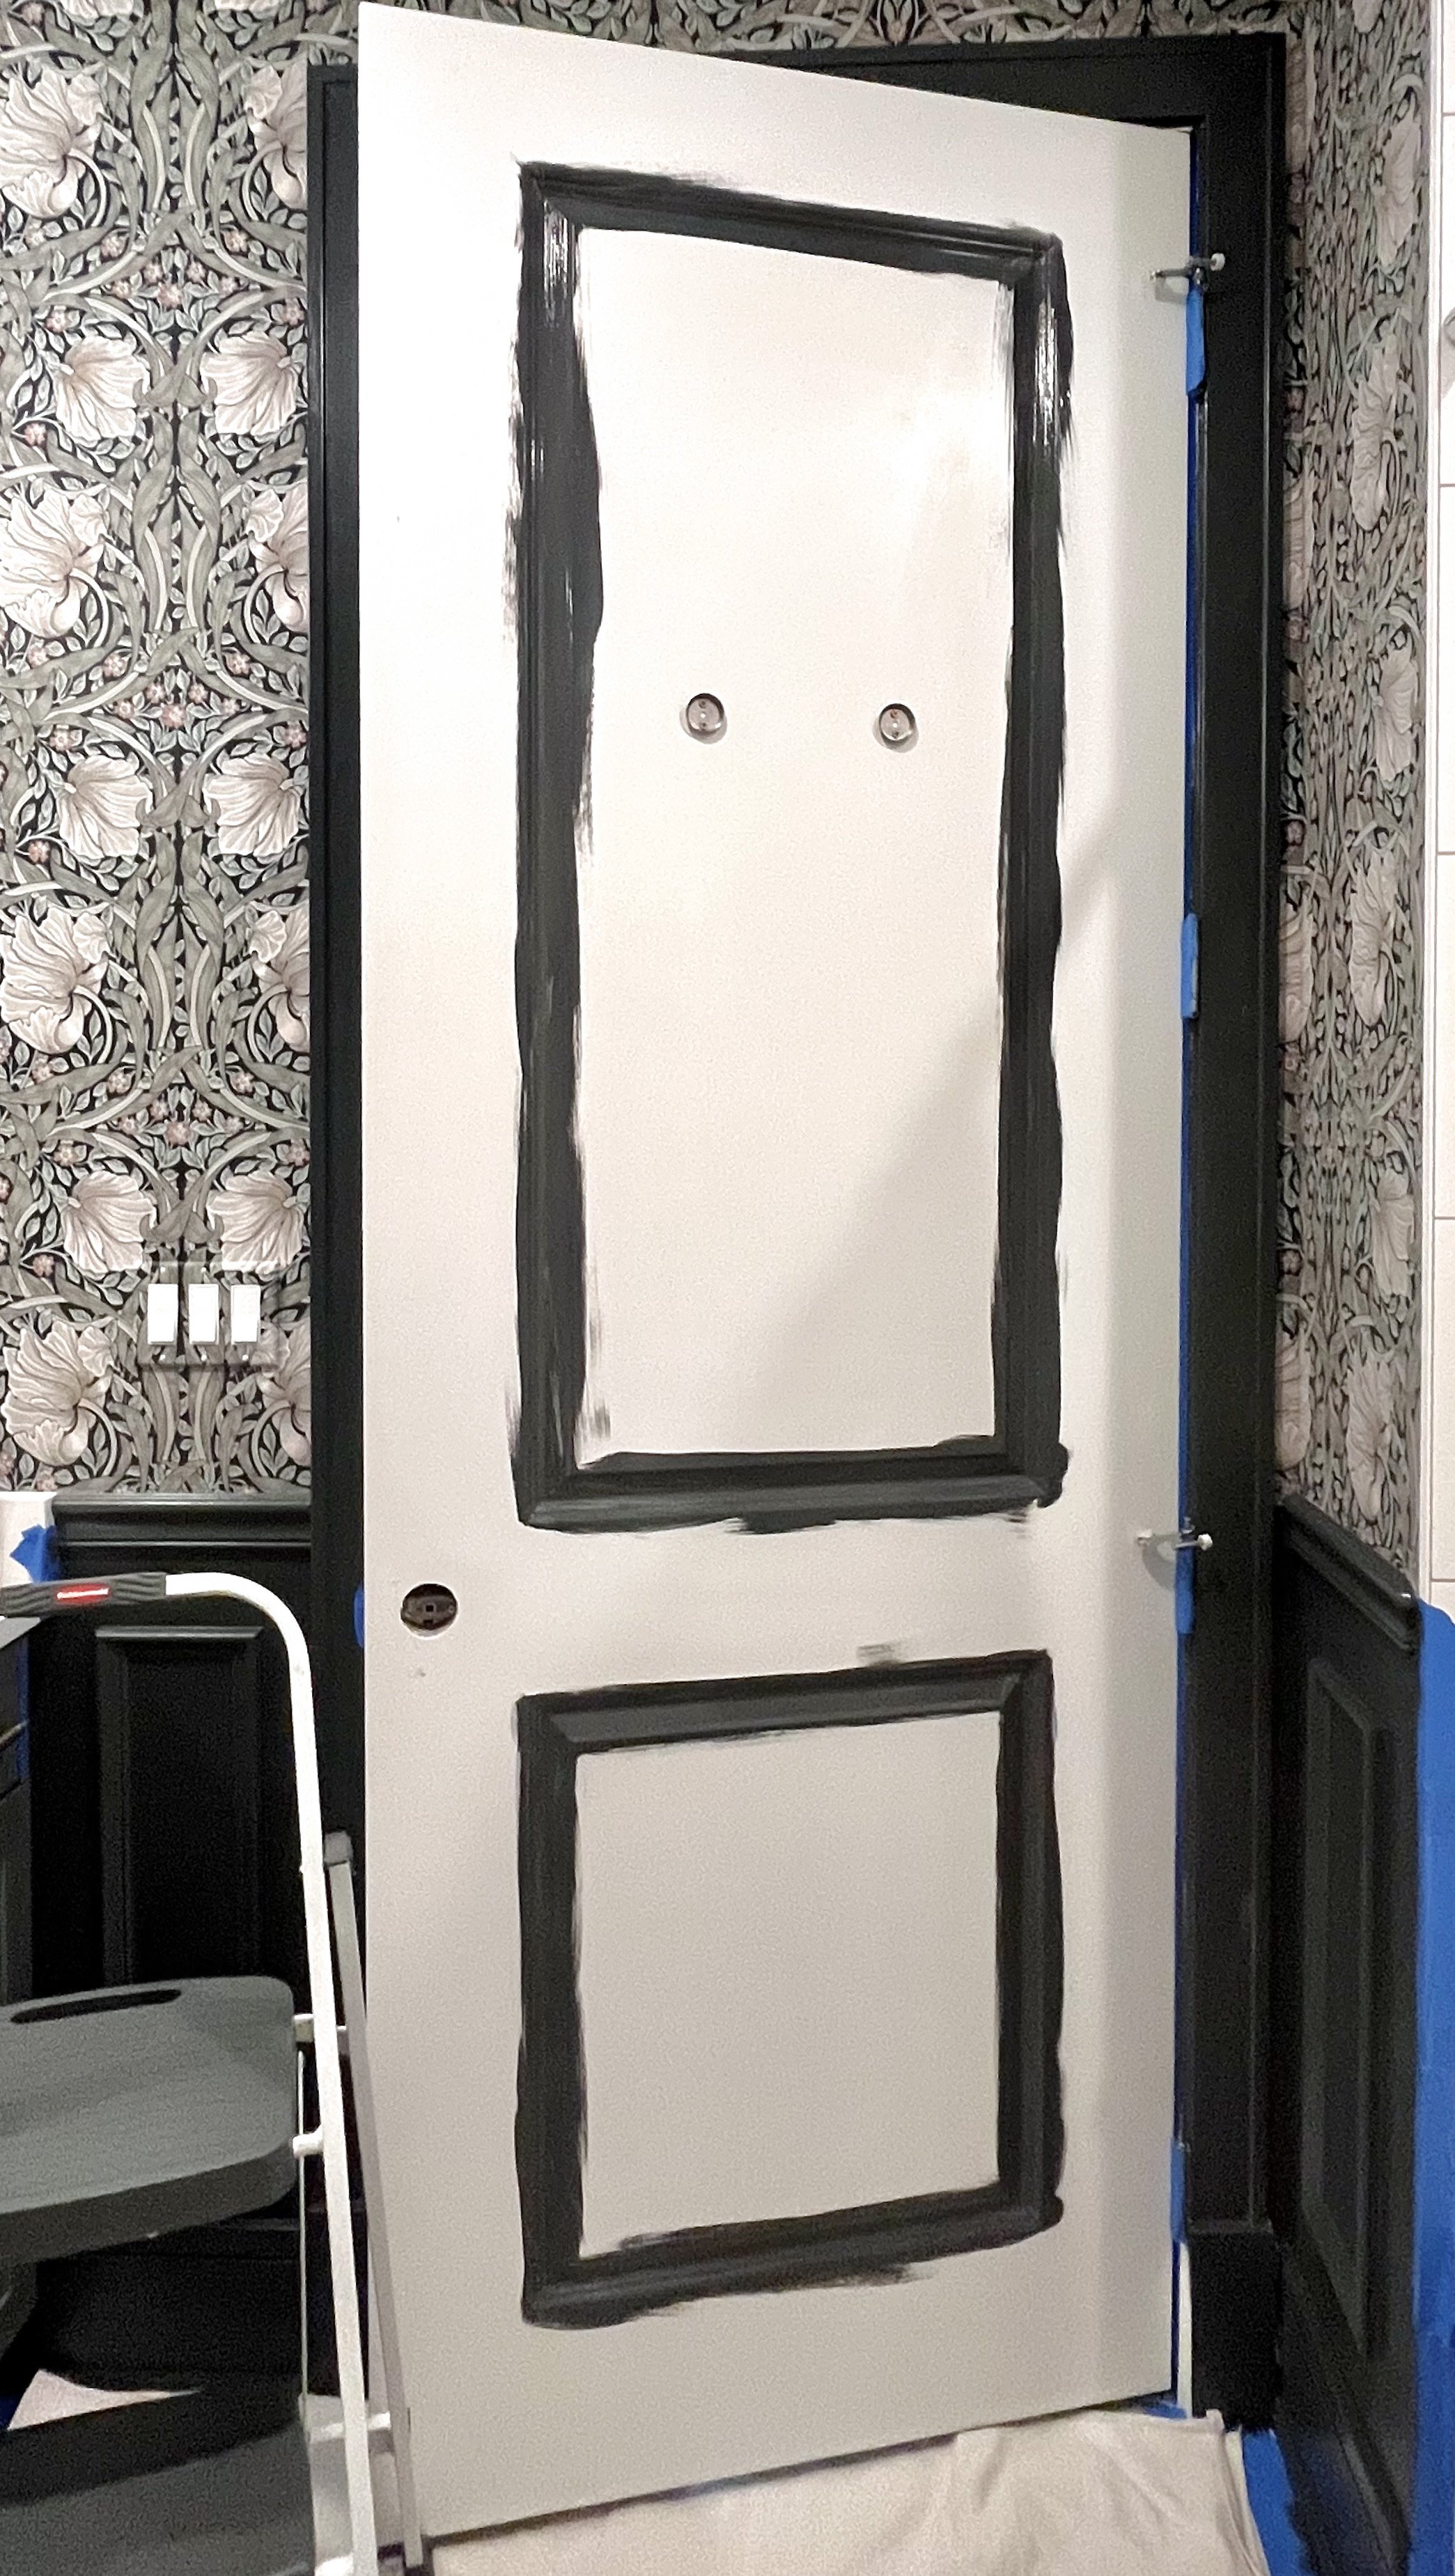
For the door, I have found painting in this order helps leave no brush marks and gives the best finish.
Edges: I use a 4-inch roller or brush on the smallest sides of the door (Note: I didn’t paint the edges of the door in this room as I am only painting one side of the door.)
Panels: I like to use a 1 ½″ brush to paint the recessed molding areas followed by a 4″ roller for the flat surfaces in the middle.
For the remainder of the door, I go in sections using a 4” roller.
Let dry, lightly sand using 220 grit or higher and then apply a second coat of paint.
MIRROR
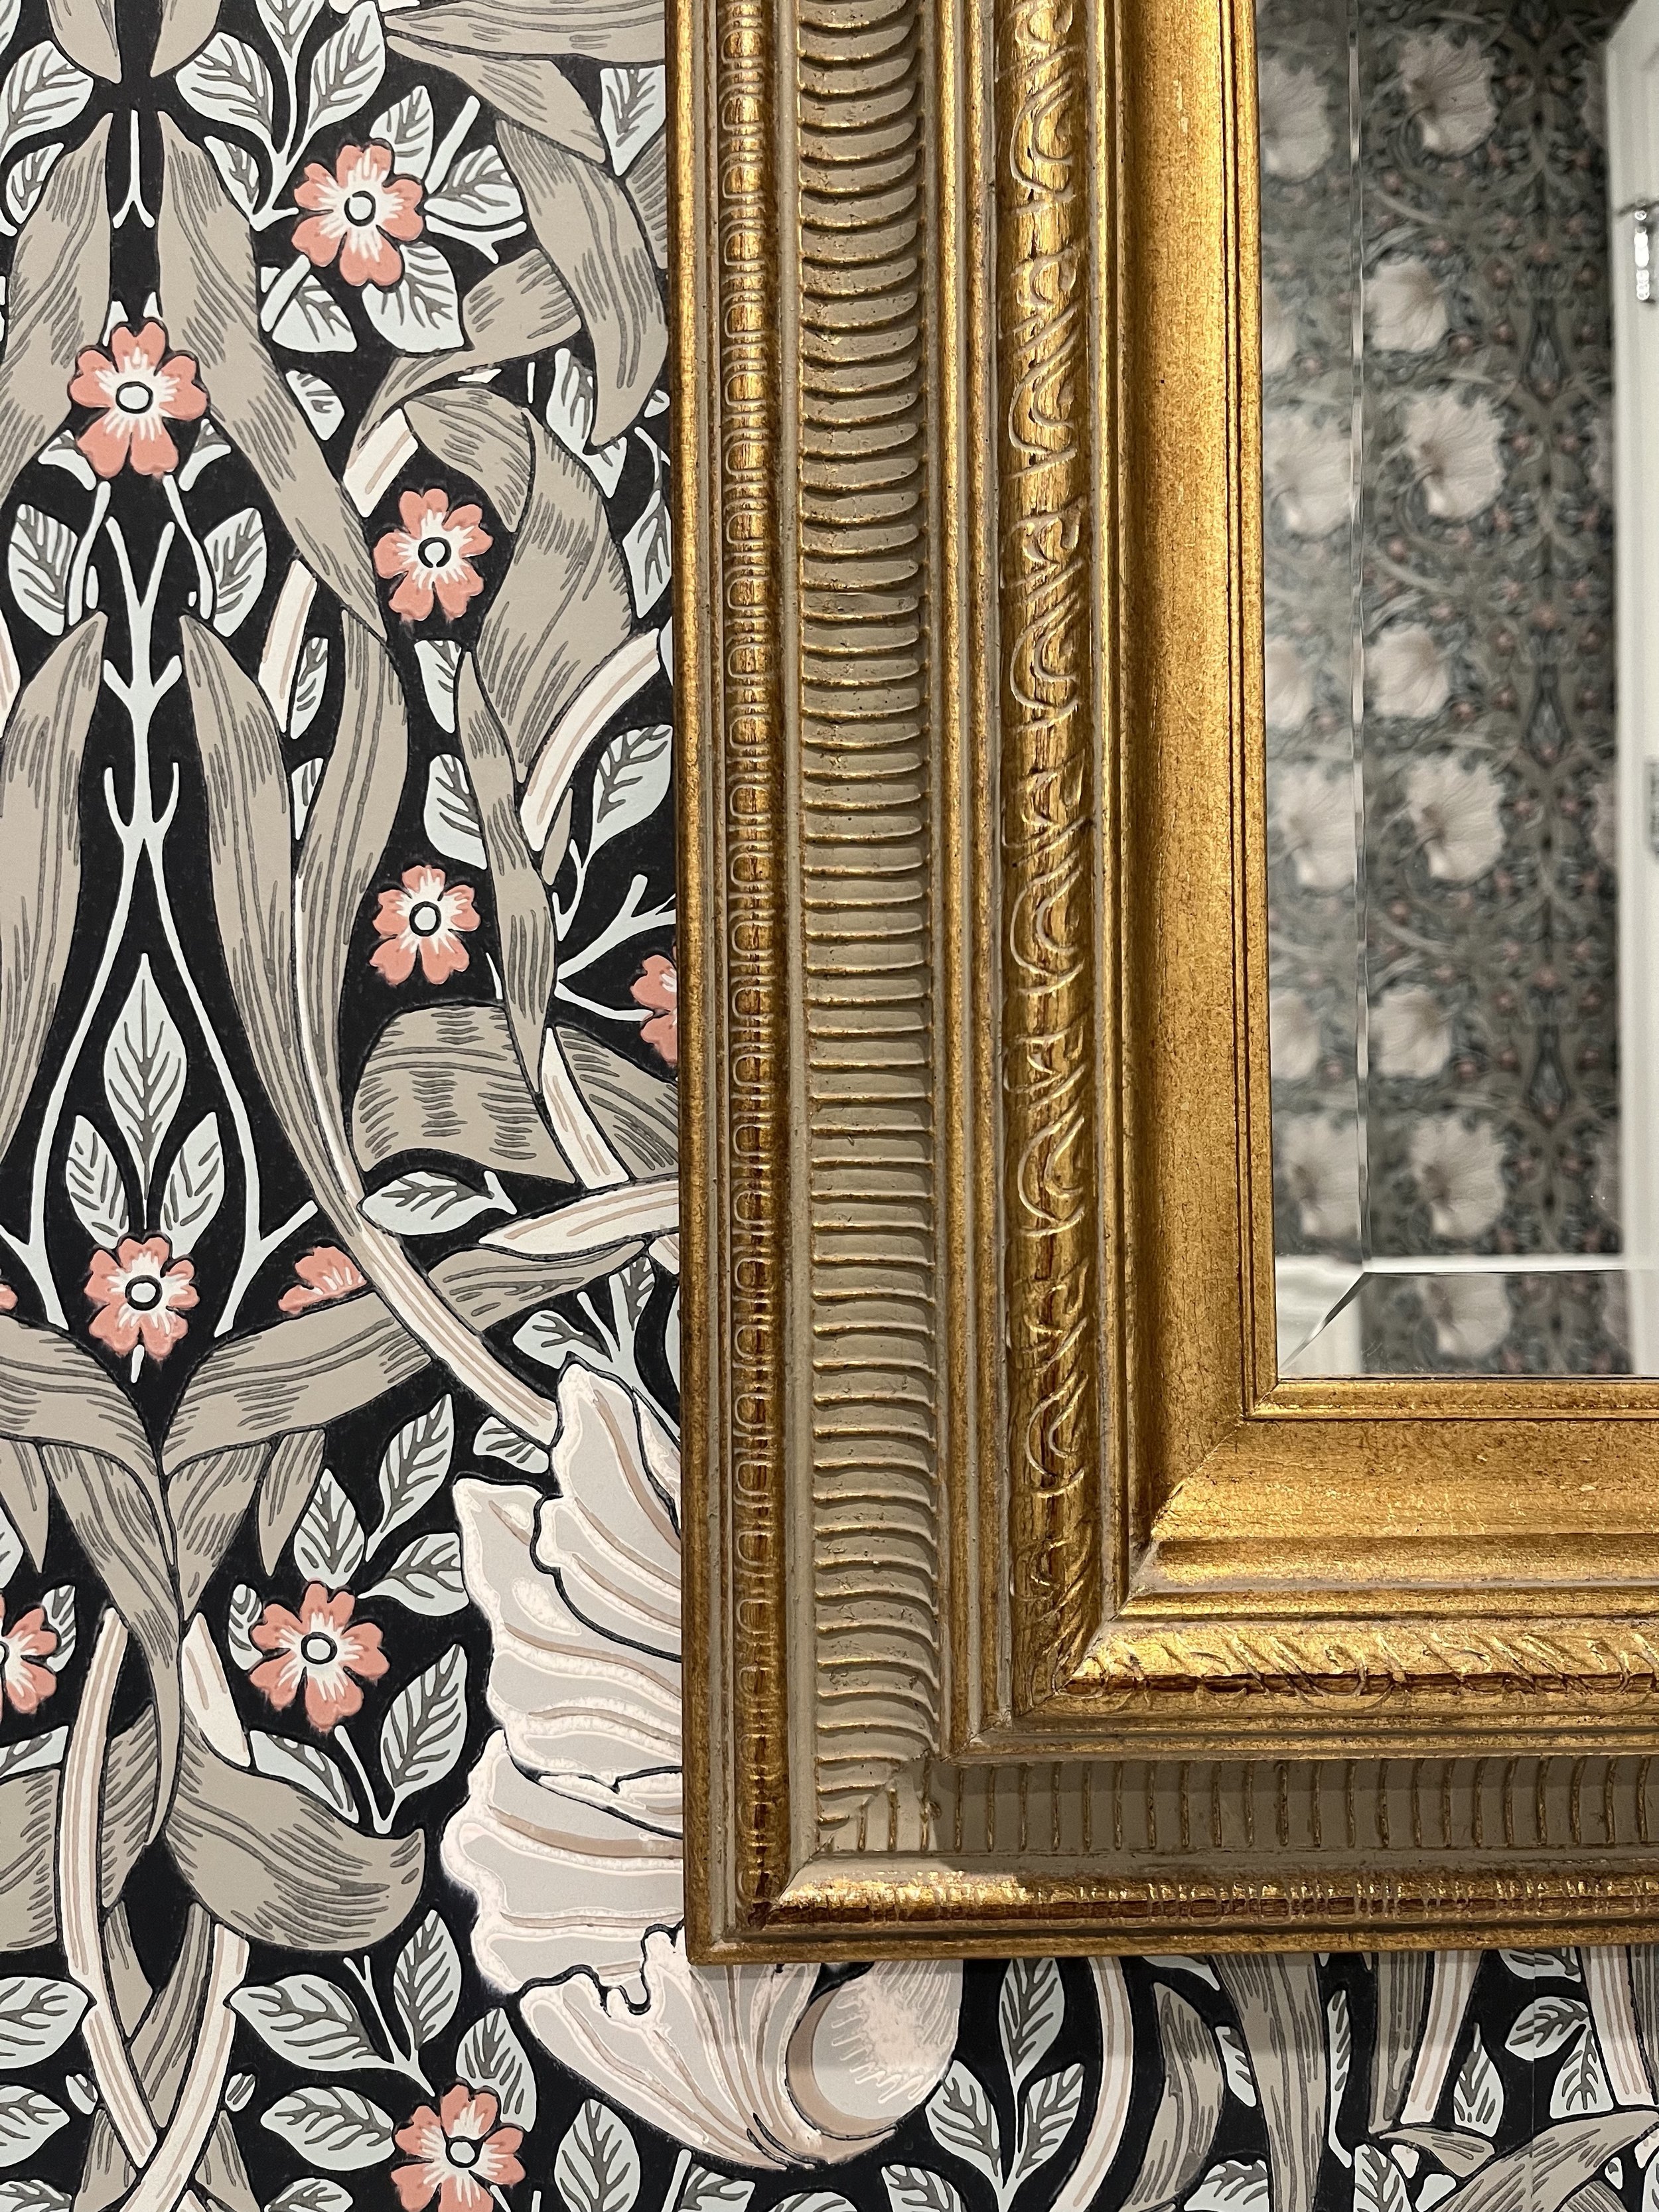
Remember this vintage beauty I found on FB Marketplace? I love the character it adds to the room but want the color to be more muted in certain areas. It has an orange tint to it on the inner frame closest to the mirror. My plan is to use Rub’n Buff to tone down the color closer to an antique gold. I’m going to be using a mix of colors and will update on my Instagram stories.
WHAT’S LEFT:
Decide on art/frames - may be DIYing the art!
Update finish on the mirror
Hang art
Styling
Photograph
Only one more week until the reveal! I can’t wait to share the completed room with all the details! Check out the other room transformations on the ORC site here!
